Using Blender’s Geometry Nodes for Kit Bash
Introduction
When making a kitbash kit one would often have rectangular primitive shapes and rely on texturing to carry you the rest of the way. With ceramic cladding for facades, that way of doing things becomes falls apart. Take this image of how ceramic cladding is assembled, there is this distinct gap between the tiles that can’t easily be replicated when you consider the sheer variation that it can come in both form and material used. For making this contemporary focused kit bash kit, I have found blenders geometry nodes to a boon for creating environments. Geometry nodes allow the user to create procedural based shapes that can provide the scaling and variation needed to make ceramic cladding work. An example of geometry nodes in action can be seen in the example below.
Geometry Nodes
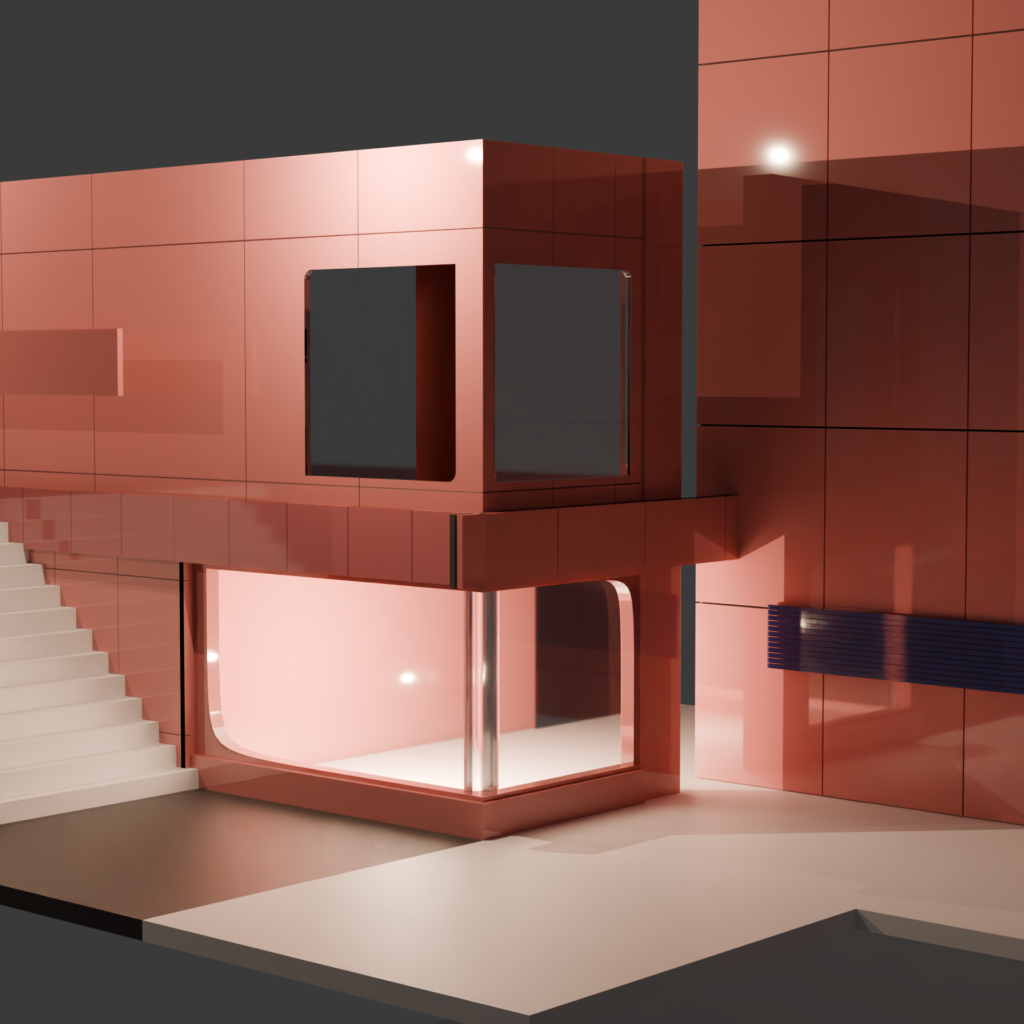
With geometry nodes I can quickly make ceramic tile walls that are often seen on contemporary style buildings like in the image shown below.
At the time of designing this specific geometry node, it was intended to provide ease of use. Focusing on the artist being able to quickly make something that looks good for a composition.
Ceramic cladding comes in many shapes and sizes for building facades so the geometry node needed to account for that.
Of course one single node could not account for everything, different geometry nodes to varying degrees were experimented with to get the desired effect.
Studying Blonde’s Formula a geometry node was created that allowed artist to create staircases with dimensions that are used in the real world to provide safety and comfort.
Conclusion
There is still quite a bit of work to do, before the kit is in a good spot for what I want it to do. Learning how to apply geometry nodes has really opened up what is possible in blender. Not as powerful as houdini, but it is enough to get the job done.